


Sanitation System:
Installing a complete sanitation system involves a sequenced process from underground infrastructure to the final surface-level fixtures. Below is a breakdown of the key stages for each component mentioned. [1]
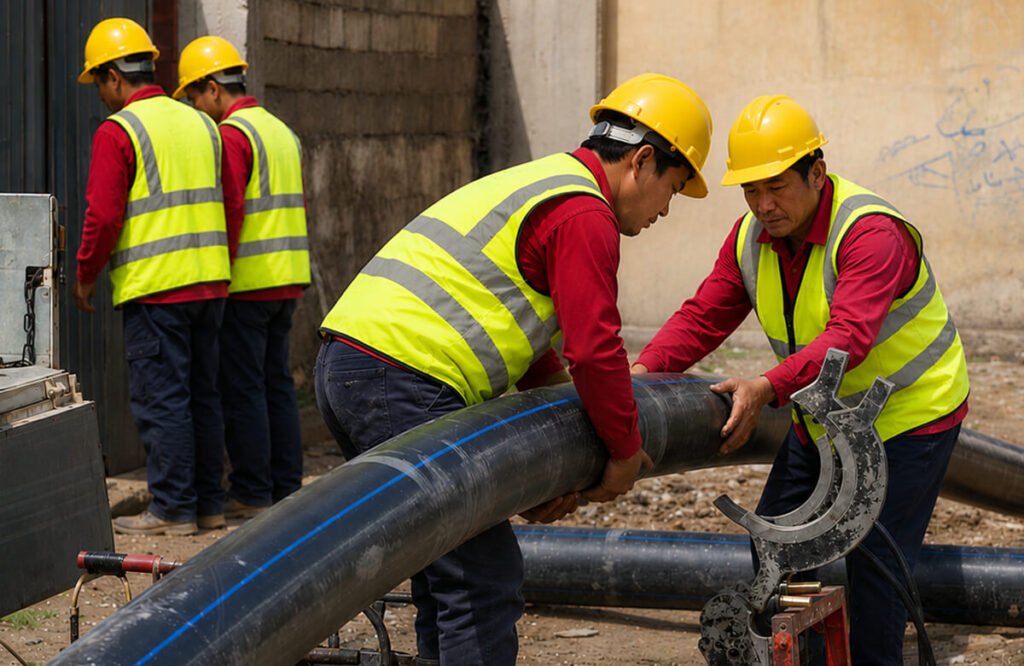
1: Clean Water and Wastewater Systems:
This stage establishes the primary network that brings potable water in and moves waste away from the structure. [2, 3, 4]
- Planning and Layout: Map the placement of pipes, fixtures, and drains to ensure efficient design and minimal pressure drops.
- Water Supply Lines: Install hot and cold water supply lines, typically using pressure-rated materials like PEX, copper, or galvanized steel.
- Drainage and Waste Pipes:
- Pipe Sizing: Standard domestic systems use 110mm diameter pipes for WCs and 32mm–40mm for sinks, showers, and baths.
- Proper Sloping: Maintain a minimum 1:60 or 1:70 fall between the house and treatment unit to ensure gravity moves waste efficiently.
- Venting and Traps: Install vent pipes to equalize pressure and prevent odors. Every fixture must have a P-trap or U-trap to hold water and block sewer gases.
- Leak Testing: Perform a pressure test on all water supply lines and a water fill test on drains before sealing walls or floors. [1, 4, 5, 6, 7, 8, 9, 10]
2: Wastewater Treatment Pump Systems:
Pump stations (lift stations) are required when effluent cannot flow by gravity and must be lifted to a higher destination, such as a main sewer or a mound absorption system.
- Sump Chamber Installation:
- Excavation: Create a hole for the reinforced concrete (RC) box, typically 1200mm x 1200mm, accessible for future servicing.
- Anchoring: Set the chamber on a stable, level concrete base. In high water table areas, use soil anchors or extra concrete to prevent the tank from floating.
- Pump and Control Setup:
- Pump Placement: Set the pump on a pedestal or concrete block to prevent it from drawing in grit or solids from the tank bottom.
- Float Switches: Connect and position float switches to trigger the pump at specific levels (typically between 300mm and 700mm depth).
- Electrical Connection: Wiring must be performed by a qualified professional; control panels should be mounted indoors or in a weatherproof outdoor kiosk.
- Safety Features: Install a high-level alarm on a separate electrical circuit to warn if the pump fails. [11, 12, 13, 14, 15, 16]
3: Sanitary Fixtures:
This final stage connects the internal network to the points of use.
- Toilet (WC) Installation:
- Position the toilet over the flange with a wax ring or sealing ring to prevent leaks and odors.
- Secure with anchor bolts but avoid filling the bottom with cement to prevent the ceramic from bursting; use silicone around the periphery instead.
- Wash Basins and Sinks:
- Secure mounting hardware and use plumber’s putty or silicone for the drain assembly.
- Ensure standard user comfort height (typically 800mm–850mm from the finished floor).
- Final Finishing:
- Apply mildew-resistant silicone sealant to all joints between fixtures and walls/floors.
- Allow the silicone to cure for 24 hours before using the fixtures. [8, 17, 18, 19, 20]